It's cold and, depending on where you live, the rain or snow has dampened your spirit. A trip to a sunny beach would cheer you up. But the solution to winter blues might just be in your kitchen.

Easy to make and delicious, braised meats are always a quick way to create a comfort meal. To my usual braised chicken thigh/legs stew with vegetables, I kicked up the flavors several notches by adding charred orange sections and Bibigo's Korean Gochujang (hot & sweet sauce). Acid, heat and sweetness combined to the savory dark meat chicken on the bone made a dish that made me warm and happy!

To soak up the sauce, I served Japanese steamed white rice on the side.
The recipe is written for one, so you can easily scale up the dish for as many as you want. You can also happily make more than you need for one meal because you will be rewarded with a lunch a day or two later.
That's what I did for my lunch today,
Left-Overs Make a Great Lunch
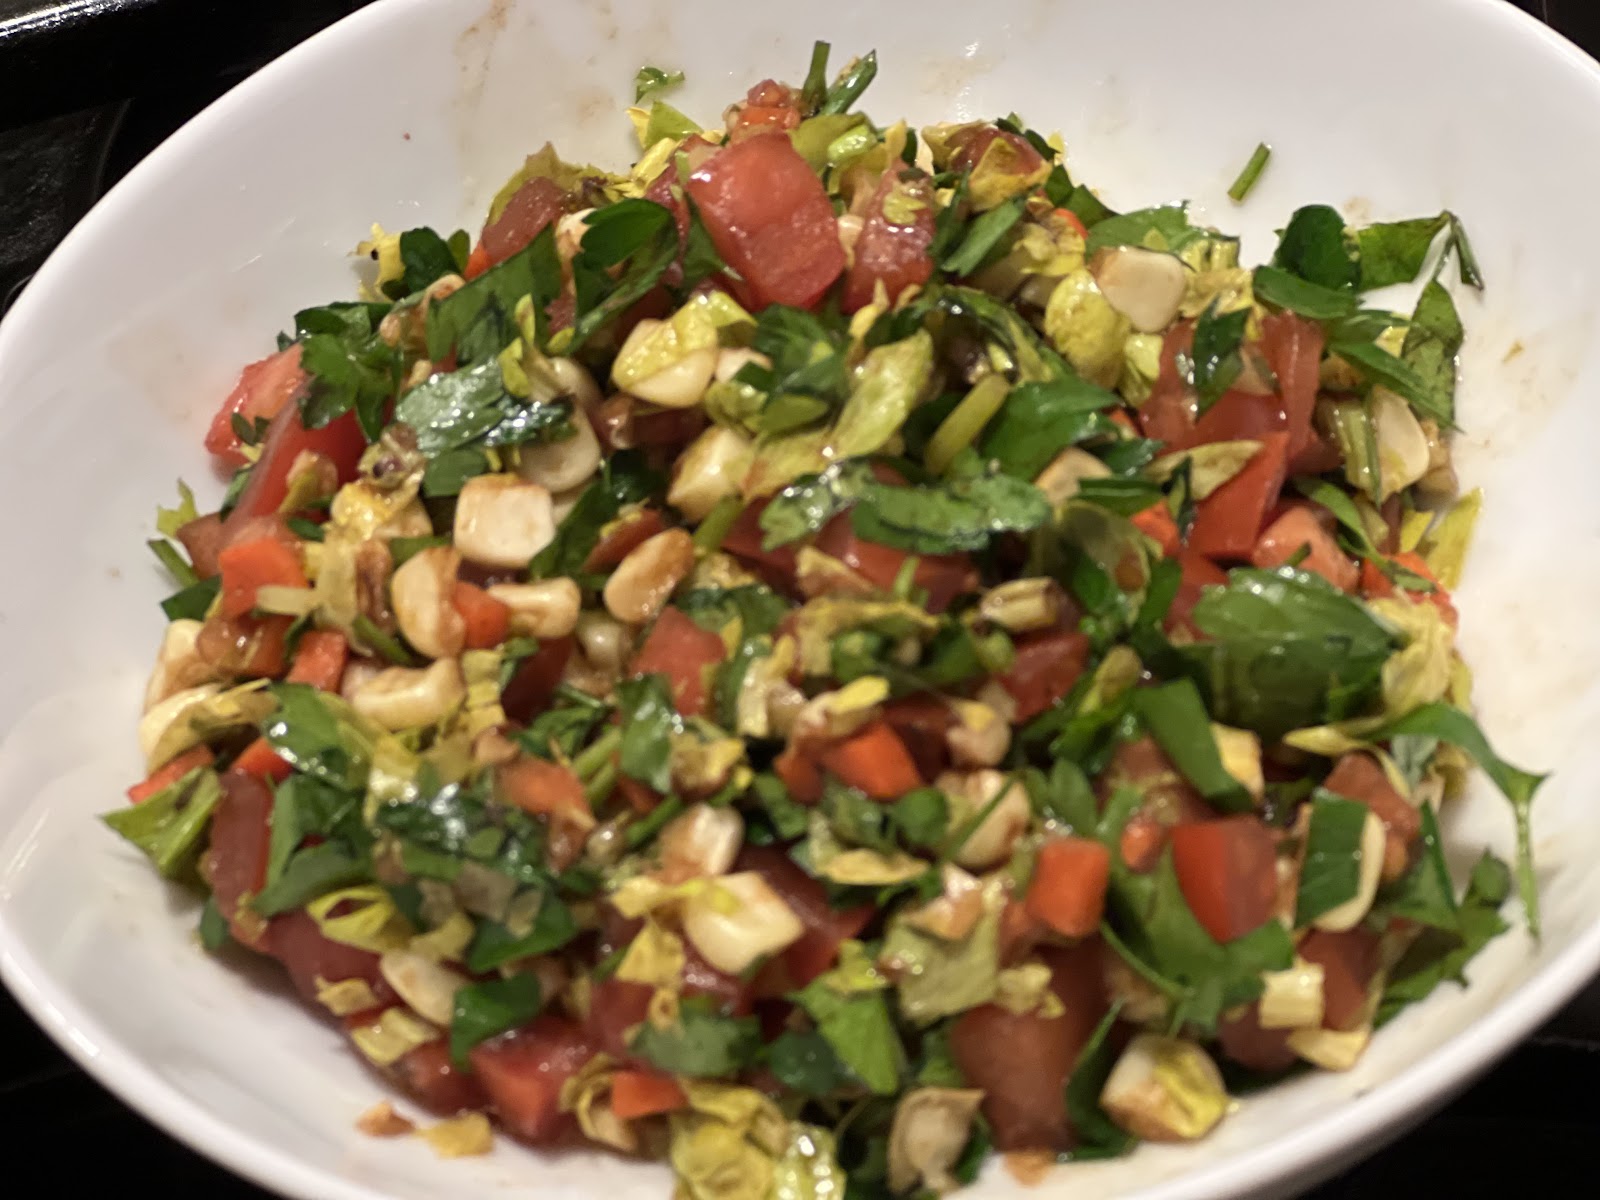
Consider this a second recipe from the same starting point. The next day, I removed the thigh bone from the left over meat, covered it with water, added the orange sections from the night before and simmered for 20 minutes. Strained, I had a cup of deliciously savory broth. After sautéing fresh vegetables (shiitakes, onions and broccolini) in olive oil seasoned with sea salt and black pepper, I added the left over chicken and picked all the meat off the bone and simmered until the liquid was reduced by half. Instead of steamed rice, I added cooked Borella spaghetti and a pat of sweet butter. Stirred together in the broth which I furthered reduced by half on a medium low heat. I sprinkled grated Parmesan cheese and sat down to enjoy a delicious lunch. A second day's gift from the previous night's feast.

I'm hoping you will make the entree and then gift yourself the bonus dish I just described for lunch or dinner. You'll love the second meal and you'll enjoy how easy it is to make affordable cooking.
Braised Chicken with Charred Orange Sections
To char, I use a Matfer Bourgeat carbon steel pan. The pans tolerate high heat and are very easy to clean.

Gochujang is available in Korean markets and some Asian sections of a supermarket or online. You will find that Gochujang deepens the flavor of stews and sauces.
For the original braise, you can add the vegetables (above) I used to make the next-day lunch (shiitakes and broccolini) as well as roughly chopped green cabbage, baby bok choy, spinach or carrots (peeled).
Serves 1
Time to prepare: 15 minutes
Time to cook: 60 minutes
Ingredients
1 large chicken thigh on the bone with skin, washed and pat dried
1 medium sized orange, washed, all discolored areas of the skin and the center part pith removed, cut into sections

1/2 cup roughly chopped onion, washed and peeled
1/2 cup finely chopped Italian parsley leaves (no stems) or curly kale (stem removed), washed
1 cup broth, preferably homemade chicken stock or water
2 tablespoons Gochujang
1 tablespoon sweet butter
2 cups cooked Japanese rice
Sea salt to taste
2 tablespoons extra virgin olive oil
Freshly ground black pepper to taste
(Optional) 1 garlic clove, washed, peeled and finely chopped.
Directions
Heat the carbon steel pan on a medium-low flame. Sprinkle 1 tablespoon of olive oil in the pan, being careful that the oil doesn't smoke.
Add the chicken thigh skin side down and season with sea salt and freshly ground black pepper. When the skin is browned, use tongs to turn over and brown the flesh side, then remove and set aside.
Add the remaining olive oil to the pan and char the orange sections, flesh and skin. Remove when browned.
Add vegetables, stir fry until wilted and browned.
Return charred chicken thigh and orange sections to the pan with the vegetables and garlic (optional).
Add chicken stock or water and Gochujang, stir well, cover and simmer.

Cook 10 minutes.
Remove the lid and add the sweet butter. Continue to simmer until the liquid is reduced by half.
Taste the sauce and adjust to taste with sea salt and freshly ground black pepper.
Remove the chicken, vegetables, orange sections and the sauce, plate and serve with freshly steamed Japanese rice or a cooked pasta of your choice.
As an option, a friend tells me he tried this recipe but at the end, he used an immersion blender to combine the sauce with the orange sections. I think that sounds very good. I'll try it next time!